
There’s something magical about making your own fruit syrup at home. Not only does it taste fresher and more vibrant than store-bought versions, but it also makes your kitchen smell incredible. This homemade strawberry syrup is one of my favorites because it’s simple, versatile, and really lets the flavor of fresh strawberries shine.
I love drizzling it over a stack of pancakes on a lazy Sunday morning, but it’s equally delicious stirred into lemonade or even brushed over cakes for a little extra moisture and sweetness. If you’ve never tried making syrup at home, this recipe is the perfect place to start.
Why You’ll Love This Recipe
- Easy and fuss-free. You only need a few basic ingredients and one saucepan.
- Fresh flavor. Unlike bottled syrups, this one captures the natural sweetness of strawberries.
- Versatile. Use it on desserts, breakfast dishes, or in your favorite drinks.
- Make-ahead friendly. It keeps in the fridge for up to two weeks, so you can enjoy it anytime.
Ingredients You’ll Need
- 4 cups fresh strawberries, hulled and halved
- 1 cup granulated sugar
- 1 cup water
- 1 teaspoon lemon juice
- 1/2 teaspoon vanilla extract (optional)
Tip: If strawberries are in peak season and extra sweet, you can reduce the sugar slightly to let their natural flavor shine through.
Step-by-Step Instructions
- Combine the base. In a large saucepan, add the strawberries, sugar, and water. Bring the mixture to a boil over medium-high heat.
Tip: Stir occasionally as it heats up to help dissolve the sugar and prevent sticking. - Simmer and soften. Once it boils, reduce the heat to medium-low and let it simmer for 15–20 minutes. The strawberries will soften and release their juices, and the liquid will turn a gorgeous deep red.
- Mash the berries. Use a potato masher or the back of a spoon to gently crush the strawberries. This helps release even more flavor into the syrup.
- Strain the mixture. Remove the saucepan from the heat and pour everything through a fine-mesh sieve into a bowl. Press lightly on the solids to extract as much liquid as possible, then discard the leftover strawberry pulp.
- Add finishing touches. Stir in the lemon juice and vanilla extract (if using). The lemon brightens the flavor while the vanilla adds a soft, warm note.
- Cool and store. Let the syrup cool to room temperature, then pour it into a clean jar or bottle. Store in the refrigerator for up to two weeks.
How to Use Strawberry Syrup
This syrup isn’t just for pancakes (though it’s amazing there!). Try it in different ways:
- Drizzle over waffles, crepes, or French toast.
- Pour it over vanilla ice cream for an easy dessert.
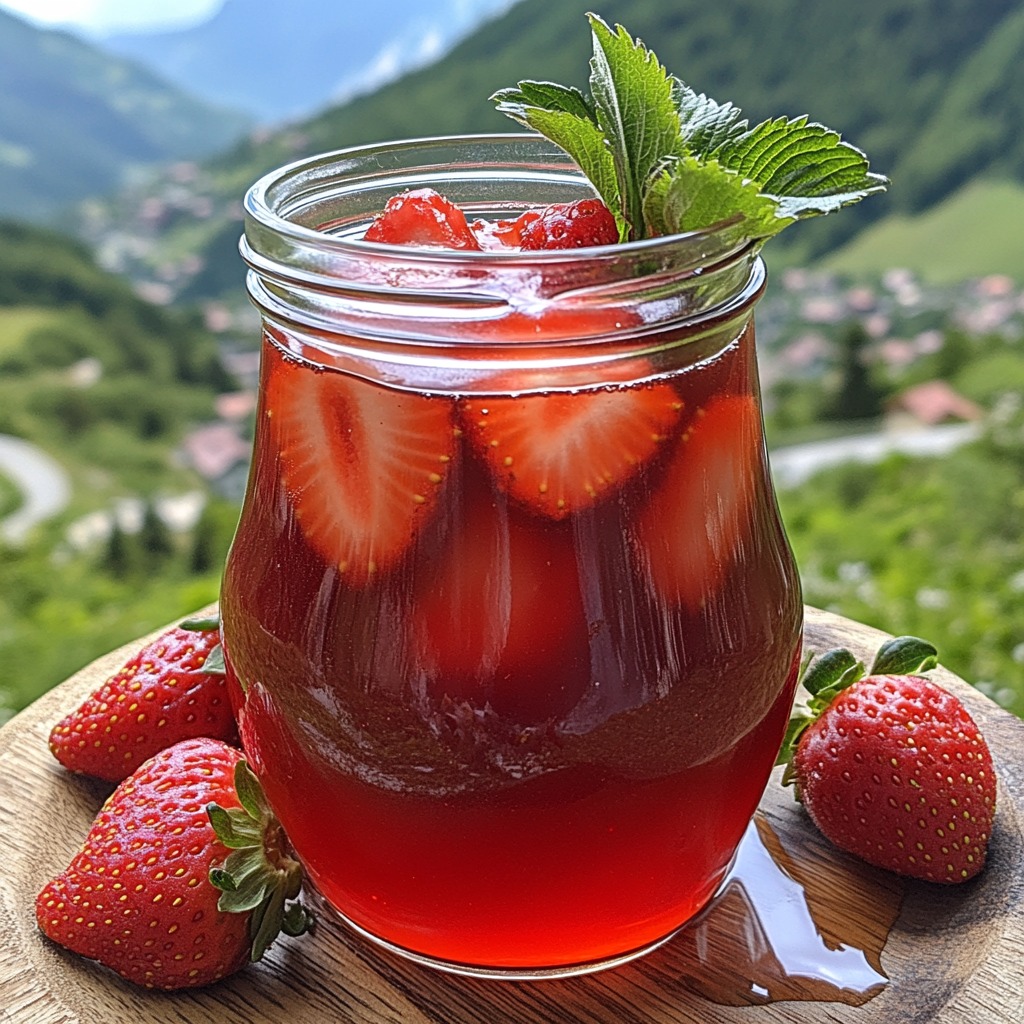
- Stir it into iced tea, lemonade, or sparkling water for a refreshing drink.
- Use it to soak sponge cake layers before frosting.
One of my favorite tricks is mixing a spoonful into plain yogurt—it instantly tastes like a store-bought fruit yogurt, but fresher and better.
Storage Tips
- Keep the syrup in a sealed jar or bottle in the fridge for up to 2 weeks.
- For longer storage, you can freeze it in ice cube trays. Just pop out a cube whenever you need a quick hit of strawberry sweetness.
Final Thoughts
Homemade strawberry syrup is one of those little kitchen projects that gives you big rewards. With just a handful of ingredients and minimal effort, you’ll have a bright, fruity syrup that can upgrade so many dishes. It’s proof that sometimes the simplest recipes are the best ones.