
There’s something truly special about making your own cheese at home. It’s one of those old-fashioned kitchen traditions that feels almost magical—you start with something as humble as milk, and in less than a day, you have fresh, flavorful cheese ready to enjoy. The best part? You only need three ingredients and no fancy equipment.
This recipe is perfect for beginners, whether you’re curious about traditional cooking or just want to impress family and friends with something wholesome and homemade.
Why You’ll Love This Recipe
- Minimal ingredients – just milk, an acid (like vinegar or lemon juice), and a pinch of salt.
- Customizable texture – keep it soft and crumbly, like ricotta, or press it for a firmer block.
- Budget-friendly – you’ll be surprised at how much cheese you can make with just a couple liters of milk.
I remember the first time I tried this recipe: I was shocked at how quickly the curds separated from the whey. It felt like a little science experiment right in my kitchen!
Ingredients You’ll Need
- 2 liters pasteurized liquid milk (not long-life or UHT)
- ¼ cup vinegar or lemon juice
- 1 teaspoon salt
Tip: If you prefer a slightly tangy cheese, use lemon juice. If you’d like something milder, go with vinegar.
Step-by-Step Instructions
1. Heat the Milk
Pour the milk into a large stainless steel pot and heat it over medium heat until you notice small bubbles forming around the edges. This usually takes about 20 minutes.
Tip: Avoid high heat—you want the milk to warm gradually so it doesn’t scorch.
2. Curdle the Milk
Once the milk is hot, add your vinegar or lemon juice. You’ll see the milk separate almost instantly, forming soft curds and a yellowish liquid called whey. Stir gently to help the process along.
3. Strain the Curds
Remove the pot from the heat and pour the mixture through a clean cloth strainer or cheesecloth. Let it drain well—you’ll be left with soft curds.
Tip: Save the whey! It’s full of nutrients and can be used in soups, bread dough, or smoothies.
4. Season and Shape
Transfer the curds to a bowl, add salt, and mix gently with a fork. At this stage, you can leave the cheese crumbly (like ricotta) or press it into a firmer shape.
To press, wrap the curds tightly in a cloth and place a weight on top. The longer you press, the firmer your cheese will be.
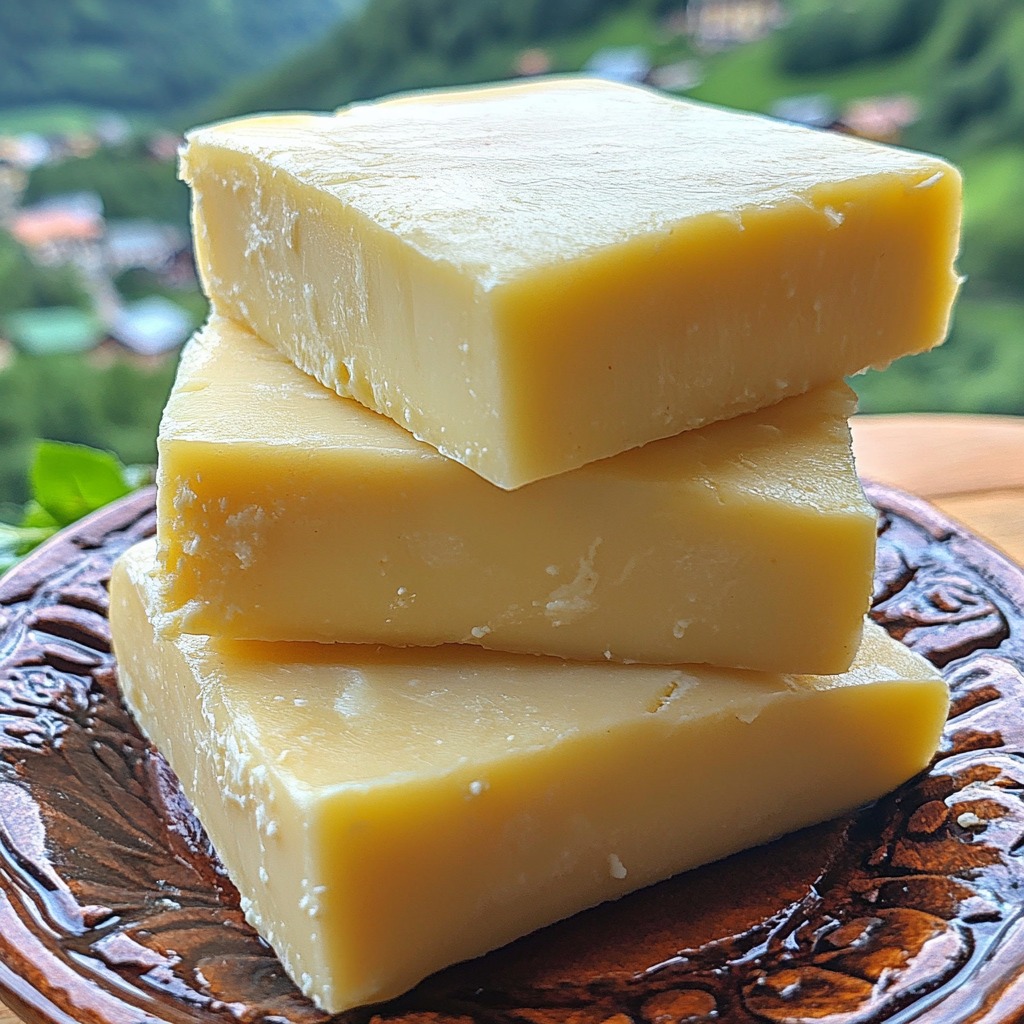
5. Rest and Chill
Once shaped, wrap your cheese in plastic wrap. Form it into a round or square shape, then refrigerate for at least 24 hours before slicing.
Serving Suggestions
- Spread soft cheese on warm bread or toast.
- Slice firm cheese for sandwiches or salads.
- Crumble it over roasted vegetables or pasta.
Storage Tips
Your homemade cheese will keep in the refrigerator for up to a week when properly wrapped. For extra freshness, store it in an airtight container.
Final Thoughts
Making cheese at home is one of those simple pleasures that connects you to traditional cooking. With just a few ingredients, you can transform ordinary milk into something rich, flavorful, and deeply satisfying. Once you try it, you may never want to buy store-bought cheese again!