
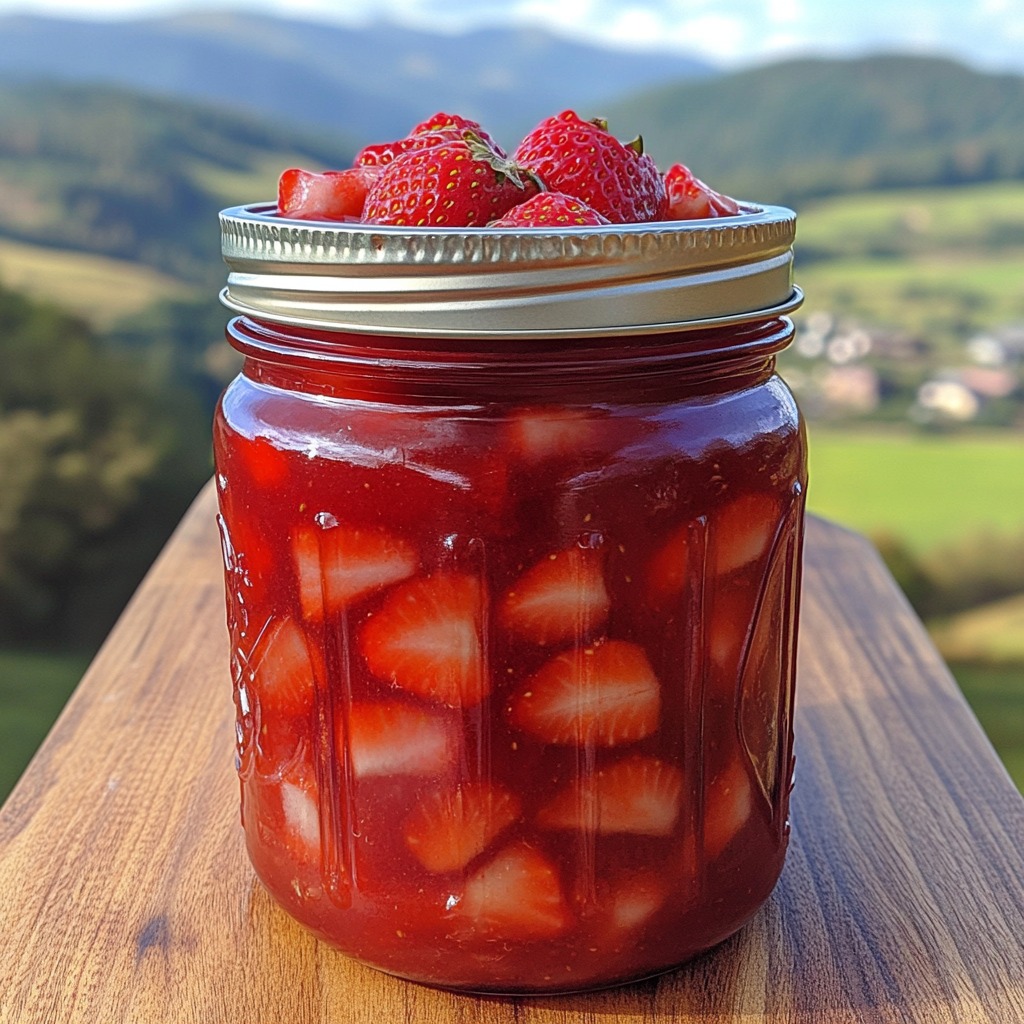
There’s nothing quite like opening a jar of homemade strawberry pie filling in the middle of winter and being hit with the sweet, summery smell of fresh berries. This recipe is one of my favorites because it’s simple, preserves beautifully, and makes pie-making a breeze later on. Instead of scrambling for fresh fruit when you’re craving a dessert, you can just grab a jar and have a pie in the oven in minutes.
Why You’ll Love This Recipe
- Homemade taste all year long – Forget canned fillings from the store; this one tastes fresh and vibrant.
- Versatile – Of course it’s perfect in pies, but it also works as a topping for cheesecake, pancakes, or ice cream.
- Preserves beautifully – With proper canning, it will keep up to a year in your pantry.
A quick tip: I always make extra jars and stash them away. They’ve saved me more than once when unexpected guests came over and I needed a quick dessert.
Ingredients You’ll Need
- 5 pounds strawberries, washed, hulled, and sliced
- 3 ½ cups granulated sugar
- 1 cup Clear Jel (a canning-safe thickener)
- 3 cups water
- ⅓ cup bottled lemon juice
If you’re wondering about the Clear Jel, it’s important not to substitute cornstarch here—Clear Jel is specifically made for canning and ensures the filling sets properly without becoming gummy or separating later.
Step-by-Step Instructions
Preparing the Filling
- Get the strawberries ready: Rinse them well, remove the stems, and slice. I like keeping some slices thicker for a chunkier filling.
- Mix sugar and Clear Jel: In a saucepan, whisk together the sugar and Clear Jel until fully combined.
- Add water gradually: Pour in the water while whisking constantly to prevent clumps.
- Cook until thick: Heat over medium, stirring often, until the mixture thickens and starts bubbling. This usually takes 10–15 minutes.
- Add lemon juice: Stir it in and let the mixture cook for another minute.
- Fold in strawberries: Gently add the berries and stir. If you like a bright red filling, a drop or two of food coloring helps here.
- Simmer: Let the mixture cook another 5 minutes until the strawberries are heated through.
Tip: Stir gently so you don’t crush the berries—you want nice, whole pieces in your pie.
Canning and Storing
- Sterilize jars: Boil jars and lids for 10 minutes and keep them hot.
- Fill with hot filling: Use a funnel to pour the mixture into jars, leaving 1 inch of space at the top.
- Remove air bubbles: Slide a non-metal spatula around the inside of the jar to release trapped air.
- Wipe the rims: Make sure the rims are clean before sealing.
- Seal: Place lids on and tighten bands just until snug.
- Process in water bath: Submerge jars in boiling water (with at least 1 inch of water covering them) and boil for 20 minutes. Adjust for altitude if needed.
- Cool and check: Remove jars and let them cool undisturbed for 12–24 hours. Press the lid—if it doesn’t pop, it’s sealed.
- Label and store: Write the date and contents on the jar, then store in a cool, dark place. Properly sealed jars last up to a year.
Tips for Success
- Always use bottled lemon juice, not fresh. Bottled juice has a consistent acidity level, which is key for safe canning.
- Don’t rush the cooling process—moving jars around too soon can cause seals to fail.
- Keep a jar or two unsealed in the fridge to use right away. It makes an incredible topping for waffles!
How to Use Your Strawberry Filling
- Bake it into a classic strawberry pie with a buttery crust.
- Spoon it over pancakes or French toast for an easy breakfast treat.
- Swirl it into yogurt or cheesecake batter for a fruity twist.
Final Thoughts
This strawberry pie filling is like capturing a little piece of summer in a jar. It’s sweet, tangy, and packed with fresh berry flavor. With just a bit of effort in the kitchen, you’ll have shelves of ruby-red jars ready to turn into pies, tarts, or spoonfuls of happiness any time of year.