
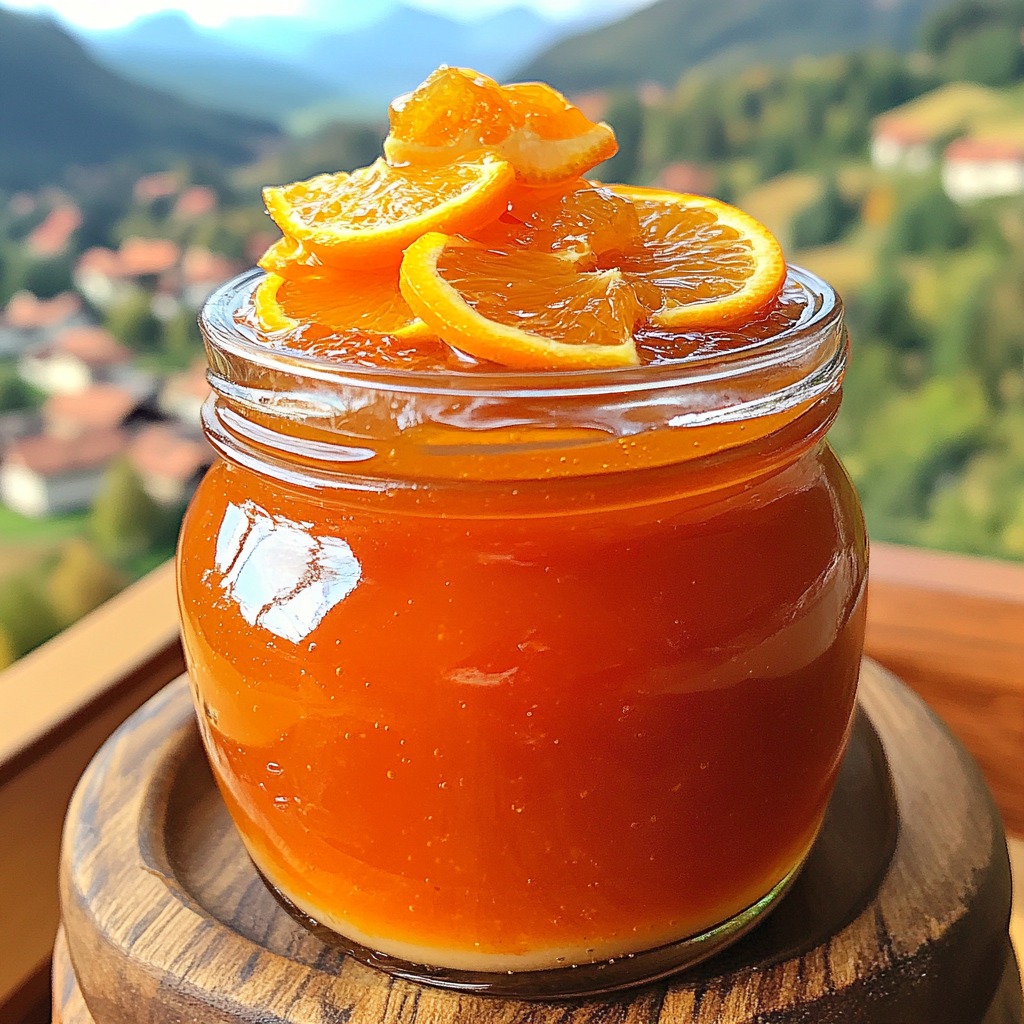
There’s something magical about opening a jar of homemade jam and knowing it came straight from your own kitchen. For me, orange jam is a favorite—it’s bright, tangy, and just the right amount of sweet. It instantly makes a slice of bread or a plain yogurt feel special. Plus, the smell of oranges simmering on the stove fills the whole house with sunshine, even on the grayest day.
This recipe uses just a handful of simple ingredients: fresh oranges, a squeeze of lemon, and sugar. That’s it. No fancy additives—just natural citrus flavor. If you’ve never made jam before, don’t worry. This is a great beginner recipe, and I’ll walk you through each step with a few tips along the way.
Ingredients You’ll Need
- 6 medium oranges (seedless, or remove the seeds)
- 1 lemon (for juice and natural pectin)
- 4 cups granulated sugar
- 2 cups water
A quick tip here: if you can find seedless oranges, they’ll save you a little time. But if not, just take a few minutes to remove the seeds carefully—it’s worth it for a smooth, spreadable jam.
Step-by-Step Instructions
1. Prepare the oranges
Wash your oranges well. Peel them, but set aside the peel from two of them. Slice this peel into very thin strips, making sure to avoid the bitter white pith.
2. Segment the fruit
Remove the remaining peel and white membrane from all the oranges. Cut the fruit into segments and check for any seeds. This part takes a bit of patience, but the cleaner you prepare the fruit, the better your jam will turn out.
3. Add the lemon
Squeeze the lemon and keep the juice. You can also grate a little of the peel for extra zing if you like a stronger citrus kick.
4. Start cooking
Place the orange segments, reserved peel, lemon juice, and water into a large pot. Bring everything to a boil, then reduce the heat and let it simmer for 10–15 minutes.
5. Sweeten it up
Add the sugar gradually, stirring until it’s completely dissolved. Once dissolved, bring the pot back to a strong boil, then lower to medium heat and cook for 40–50 minutes. Stir occasionally so it doesn’t stick.
6. Test the jam
Here’s a classic trick: place a small spoonful on a cold plate. Push it with your finger—if it wrinkles slightly, your jam is set. If not, let it simmer another 5–10 minutes and test again.
7. Jar and store
Pour the hot jam into sterilized jars, leaving a little space at the top. Seal them tightly and let them cool at room temperature.
Tips for Success
- Sterilizing jars: The easiest way is to boil them in hot water for about 10 minutes before filling. This keeps your jam fresh for months.
- Flavor boost: A pinch of cinnamon or ginger while cooking adds a cozy twist to the citrus flavor.
- Texture choice: If you like smoother jam, you can lightly blend the oranges before cooking.
How to Enjoy
This jam is so versatile. Spread it on warm toast in the morning, swirl it into plain yogurt, or use it as a filling for cakes and cookies. One of my favorite ways to enjoy it is spooned over vanilla ice cream—it’s like sunshine in a bowl.
Storing Your Jam
Keep unopened jars in a cool, dark place, and once opened, store them in the refrigerator. Properly sealed, they’ll last several months—though in my house, they never last that long!